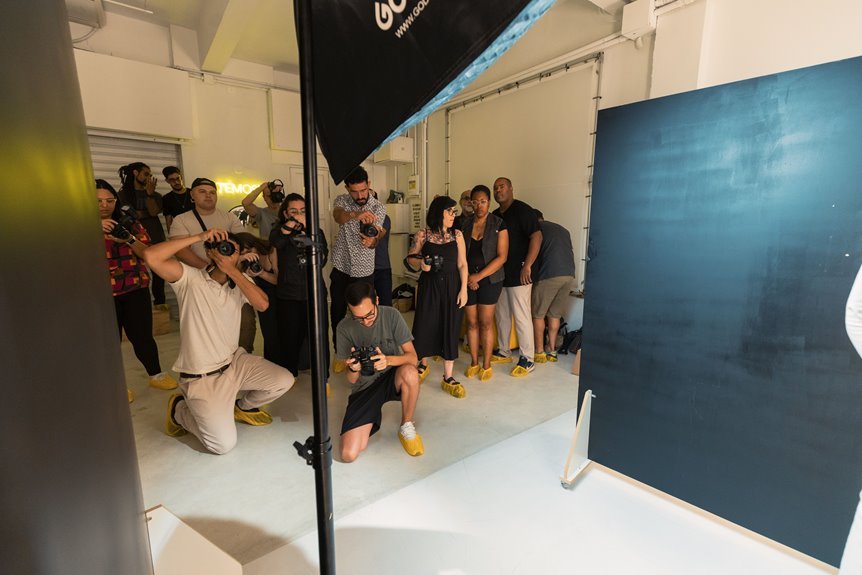
Three-Point Lighting basics define a controlled triad of sources: key, fill, and back light. The key shapes form and mood; the fill softens shadows to reveal detail; the back light creates separation and edge. Position, distance, and intensity determine silhouette and texture, while modifiers and color temperature refine the look. The approach yields depth with repeatable results, yet subtle tweaks can alter perception. The system stands ready, inviting careful adjustment to suit the scene.
What Three-Point Lighting Is and Why It Works
Three-point lighting is a foundational illumination setup that uses three distinct light sources to shape the subject. This arrangement defines shadows, depth, and contour, aligning lighting theory with perceptual cues.
The key light emphasizes form, the fill light softens contrast, and the back light separates the subject from the background. Camera angles influence mood and clarity within this structured framework.
Establishing Your Key Light: Position, Intensity, and Mood
In establishing the key light, the emphasis lies on shaping the subject’s form through deliberate position, controlled intensity, and intentional mood.
The key light position defines silhouette, contours, and eye appeal, while key light intensity calibrates contrast and texture.
Technical discipline guides setup, ensuring reproducible results without flattening.
Visual clarity remains paramount for flexible, expressive storytelling.
Balancing With Fill Light: Shaping Depth Without Flatness
Balancing with fill light introduces controlled shadow to recover form without erasing depth. Fill luminance modulates ambient falloff, preserving dimensional cues while softening harshness. The approach shapes shadows texture by revealing contour without flattening contrast depth; precise angling and distance sustain separation between planes. This method maintains freedom of composition, avoiding over-sculpting while ensuring material readability under varied observer viewpoints.
Crafting Separation With Back Light: Glow, Rim, and Texture
Back lighting creates separation by outlining subject edges, yielding a glow, rim, and textured halo that define silhouette and material cues without overpowering the key illumination.
Crafting separation relies on controlled glow dynamics and deliberate rim texture to sculpt edge definition, preserve surface detail, and convey depth.
The approach enhances filmic separation while preserving natural contrast and tonal fidelity.
Quick Setups and Practical Tweaks for Real-World Shoots
Quick setups for real-world shoots focus on rapid, repeatable patterns that preserve key and fill relationships while adjusting rim and glow to suit space and time constraints. Practitioners calibrate shadow contrast and color temperature with minimal gear, using modular lights, practical modifiers, and quick bounce surfaces. The method prioritizes consistency, repeatability, and visual clarity under evolving production demands.
Frequently Asked Questions
How Do Color Temperature and Gels Affect Three-Point Lighting?
Color temperature and gels alter perceived mood and contrast in three-point lighting; warm vs. cool shifts change skin tones, while gels selectively tint key, fill, and back lights, enabling two word discussion ideas: color temperature, gels. This configuration remains technically precise and visually clear.
Can Three-Point Lighting Work for Non-Human Subjects or Products?
Three point applications can illuminate non human subjects or products successfully, with careful key, fill, and back lighting to reveal form, texture, and material properties; technique emphasizes consistency, contrast, and motion compatibility for an unrestricted, visually precise result.
What Camera Settings Maximize Depth From Three-Point Lighting?
Depth cues emerge best with moderate aperture and focal length; to maximize depth from three-point lighting, use a mid-tele lens (around 50–85mm), keep subject-to-background distance, and adjust ISO to preserve highlight detail for lens compression.
How Do You Light Outdoors Using Three-Point Principles?
Outdoor lighting applies three-point principles by placing key, fill, and back lights relative to subject, while accounting for outdoor wind challenges and lens flare control, ensuring balanced contrast, wind-damped equipment notes, and freedom in composition.
What Are Common Mistakes That Ruin Three-Point Lighting Quickly?
Common mistakes quickly ruin three-point lighting: bad lighting choices unbalance key, fill, and back light, and camera angles reveal seams. Investigators note shadows, spill, and ratio errors, undermining depth, precision, and visual freedom in nuanced setups.
Conclusion
Three-point lighting yields controlled depth and texture by balancing key, fill, and back light. A well-placed key defines form, while a calibrated fill preserves detail without flattening contrast. The back light separates subject from background, adding edge and realism. In practice, nearly every shoot benefits from quick checks: adjust distance, intensity, and color temperature to maintain consistent mood. As one cinematographer notes, lights are sculptors; small positional shifts reveal or conceal contours with disciplined, repeatable precision.